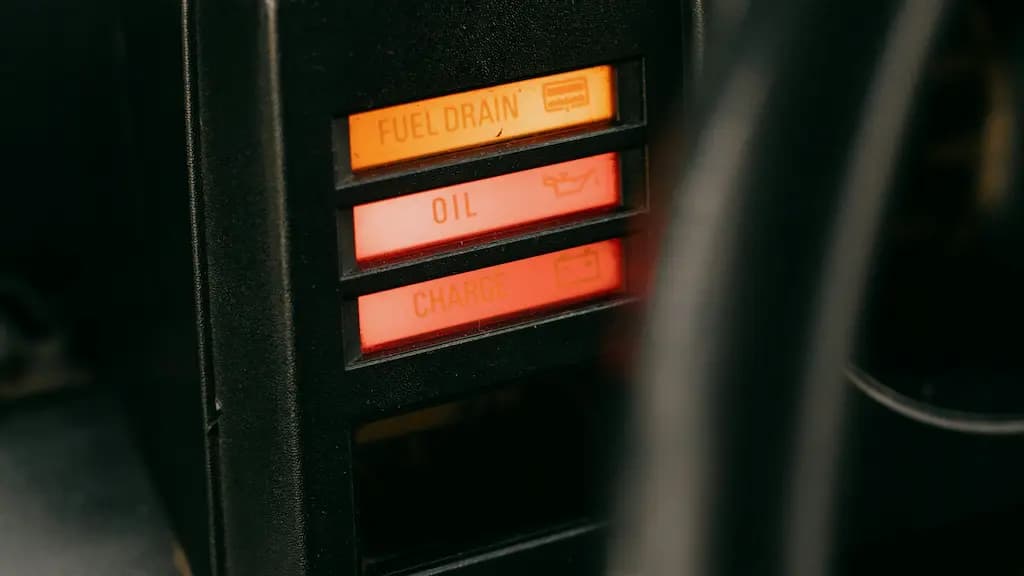
Dashboard lights and warning indicators

Modern dashboard warning lights and indicator symbols pack a lot of information into a small space: from engine and brake issues to tire pressure alerts or service reminders. Not every light means you must pull over immediately, but ignoring the most critical ones can lead to expensive damage, safety risks or even a failed inspection.

This page acts as the main hub for all dashboard warning lights on MotorUpdately. It gives you a global view of color meanings, severity levels and system-specific warnings, with direct links to each in-depth guide. The goal is simple: help you quickly identify the symbol you see, understand how serious it is and decide whether you can keep driving or need professional help soon.

How to use this dashboard warning lights hub

  1. Start with the color of the light. If it’s red, go straight to the guide on red dashboard warning lights. If it’s yellow or amber, check the guide on yellow dashboard warning lights.
  2. Identify the system involved. Engine, brakes, steering, airbag, tires, diesel particulate filter… further down, lights are grouped by system so you can jump directly to the right article.
  3. Check how serious it is. Each detailed guide explains when it’s usually safe to keep driving carefully and when you should stop as soon as it’s safe to avoid major damage or safety issues.
  4. Consider inspections and maintenance. Some lights are not immediately dangerous but can affect emissions, braking performance or your chances of passing a vehicle inspection.

Warning lights by severity: when it’s urgent to stop

Red dashboard lights: stop as soon as it’s safe

Red dashboard warning lights usually indicate a situation where it is unsafe or risky to keep driving. They often relate to critical systems:

Yellow dashboard lights: warnings and faults to check soon

Yellow dashboard warning lights usually allow you to keep driving carefully, but they highlight issues that should be checked sooner rather than later:

Dashboard lights grouped by system: engine, brakes, stability and safety

Engine and emissions system warnings

When a light relates to the engine or emissions system, it may not always be an emergency, but it can lead to higher fuel consumption, increased pollution or expensive repairs if ignored. In this hub you’ll find:

Brakes, stability control and tire pressure

Lights related to braking and stability control are crucial for active safety and vehicle handling:

Passive safety, steering and service reminders

Other lights affect passive safety, ease of steering or long-term maintenance planning:

Frequently asked questions about dashboard warning lights

What should I do if a warning light comes on and I don’t know what it means?

First, look at the color: if it’s red, the safest option is to stop in a safe place and check the guide on red dashboard warning lights. If it’s yellow, review yellow dashboard lights and then open the specific article for the symbol that matches your dashboard. When in doubt, avoid driving long distances with a warning light on.

Can I pass inspection with a warning light on?

Some lights —especially those related to the engine, emissions, ABS, airbag or power steering— can lead to a failed inspection if they are on during the test. The guide on dashboard warning lights that can make you fail inspection explains which ones are more problematic and what inspectors usually look for.

Is the check engine light always a serious problem?

Not always. A steady check engine light can be triggered by moderate issues, like a faulty sensor or small emissions faults, and may allow careful driving in the short term. However, if you see a flashing check engine light or notice misfires, loss of power or odd noises, you should avoid driving far and get the car checked quickly.

What’s the best way to understand all the symbols on my dashboard?

The quickest approach is to combine the guide on what dashboard light colors mean with the dashboard warning lights guide with all common symbols. Together, they give you both a color-based urgency overview and symbol-by-symbol explanations.